

How to Prepare Artwork for Embroidery: 2026 Guide
Table of Contents
- Why Artwork Preparation Determines Embroidery Quality
- Vector vs Raster Files for Embroidery: What Actually Matters
- How to Prepare Artwork for Embroidery Step by Step
- How to Convert a Logo to an Embroidery File
- Common Embroidery Design Mistakes and How to Fix Them
- Print-Ready vs Stitch-Ready: A Pre-Submission Checklist
- Frequently Asked Questions
Last Updated: September 2, 2026
Why Artwork Preparation Determines Embroidery Quality
Most embroidery problems start long before the machine is threaded. The artwork file you submit is the single biggest variable in whether your finished piece looks sharp or ends up a tangled mess of thread and broken stitches. A customer may submit a logo they've used for print for years, and it can come back from the digitizing step looking different than expected.
Embroidery is a physical process. Every curve, thin line, and color transition must be translated into needle strikes on fabric. When source artwork is too complex, too low-resolution, or ignores how thread behaves, the result is puckering, thread breaks, poor registration, and designs that fall apart after a few washes.
Preparing artwork for embroidery means adapting a digital design file so it can be accurately translated into a stitch file an embroidery machine can execute. This requires simplifying complexity, choosing the right file format, and accounting for fabric behavior before a single stitch is placed.
Vector vs Raster Files for Embroidery: What Actually Matters
The most common source of confusion when submitting embroidery artwork is the difference between vector and raster files, and which one a digitizer actually needs.
Vector graphics are built from mathematical paths and nodes. They scale infinitely without losing quality. Common vector formats include .ai, .eps, .svg, and .pdf (when exported from a vector program). These are preferred for embroidery digitizing because clean paths make node editing and path conversion straightforward.
Raster images are grids of pixels. A JPEG, PNG, or BMP file stores color information dot by dot. Scaling a raster image up produces a blurry, pixelated mess. For embroidery, this matters because the digitizer needs to trace artwork outlines precisely to set stitch paths. A blurry edge produces an inaccurate stitch boundary.
Always submit a vector file when you have one. A high-quality .eps or .ai file gives the digitizer clean, editable paths and reduces preparation time.
When a Raster File Can Still Work
A raster file is not automatically a dead end. If the image is high-resolution (300 DPI or higher at the intended embroidery size), has solid, well-defined color areas, and uses clean lines without gradients or drop shadows, a skilled digitizer can work with it.
The critical number is resolution relative to final stitch area. A bitmap that looks fine on screen at 72 DPI will fall apart when a digitizer traces it for a 4-inch chest logo. Submit raster files at a minimum of 300 DPI at actual embroidery dimensions. Higher is better.
How to Prepare Artwork for Embroidery Step by Step
Preparing artwork for embroidery follows a clear sequence. Skipping steps costs time and money in revision cycles.
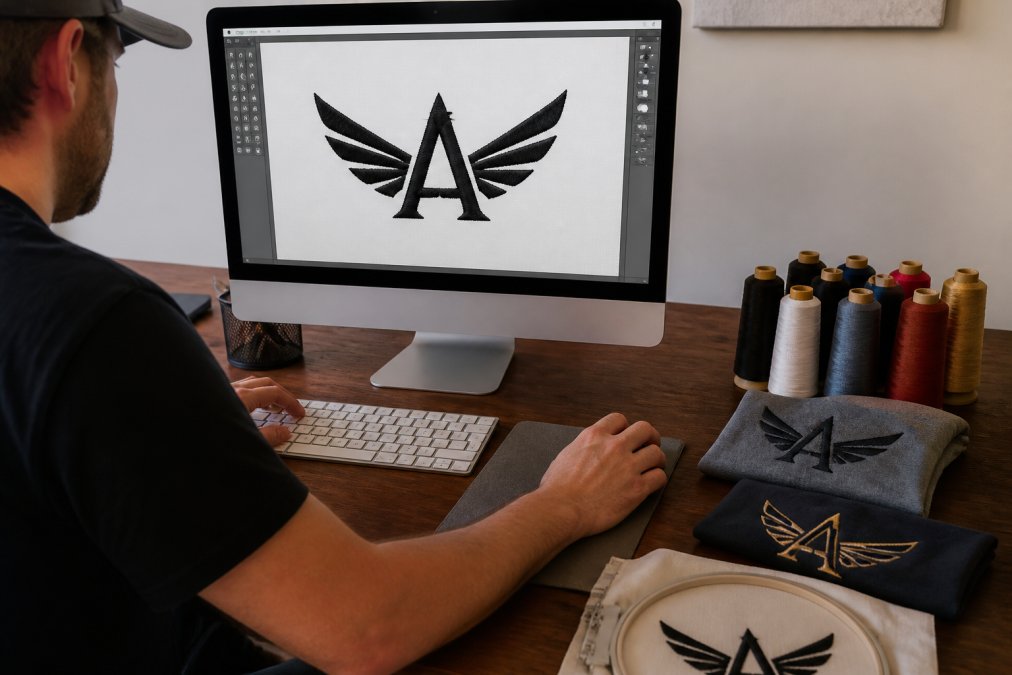
Step 1: Simplify Colors and Remove Gradients
Embroidery thread comes in discrete colors. There is no blending on the fly, no gradient fill, no opacity slider. A design with a 12-stop gradient must be converted into solid color blocks, and that conversion almost always looks worse than a design built with solid colors from the start.
Remove all gradients, drop shadows, glows, and transparency effects before submitting. Replace gradient areas with the dominant color or use a limited set of solid color stops that suggest depth. Most embroidery designs work best with 6 colors or fewer. Each additional color adds thread changes, increasing production time.
Color palette selection must account for thread availability. Check whether your brand's specific Pantone color has a close thread match before finalizing the design.
Step 2: Adjust Stroke Weight and Clean Up Lines
Thin lines are the most common failure point in embroidery designs. A stroke that looks elegant at 0.5pt in print becomes nearly invisible or breaks when translated into thread. Lines thinner than approximately 1.5mm at final embroidery size will not reproduce cleanly (the American Academy of Dermatology).
Audit every stroke in your design. Increase stroke weight on any line below that threshold. For text, check thin serifs and hairline crossbars. For logos, review fine detail elements like thin borders or small icons.
Also remove overlapping paths that serve no visual purpose. Overlapping fill areas create unnecessary thread density and can cause puckering.
Step 3: Convert Text to Outlines
Any text in your design must be converted to outlines before submission. If you leave live text in the file, the digitizing software may substitute a different font, changing your design entirely.
Converting text to outlines turns each letter into a vector path, locking letterforms in place regardless of what fonts are installed elsewhere. In most vector programs, select the text layer, then use "Create Outlines" or "Convert to Paths."
After converting, check that small text is still legible as a path. Letters smaller than 4mm tall in final embroidery size generally do not reproduce well in thread.
Step 4: Account for Fabric Type and Stabilizer
The same design behaves differently on a structured polo shirt versus stretchy athletic fabric versus a loosely woven tote bag. Different fabrics respond differently to hooping tension and needle penetration.
Stretchy fabrics require cut-away stabilizer and higher underlay stitch density to prevent distortion. Loosely woven fabrics need a topping layer to prevent stitches from sinking into the weave. Thick fabrics like fleece need reduced stitch density to avoid thread buildup that makes the design stiff.
When preparing artwork, note the intended fabric and communicate it clearly with your digitizer. This information directly affects underlay type, stitch density settings, and whether the design needs further simplification.
How to Convert a Logo to an Embroidery File
Converting a logo to an embroidery file means taking a static graphic and producing a stitch file that an embroidery machine can read. This requires a process called digitizing, performed either manually by a human or automatically by software.
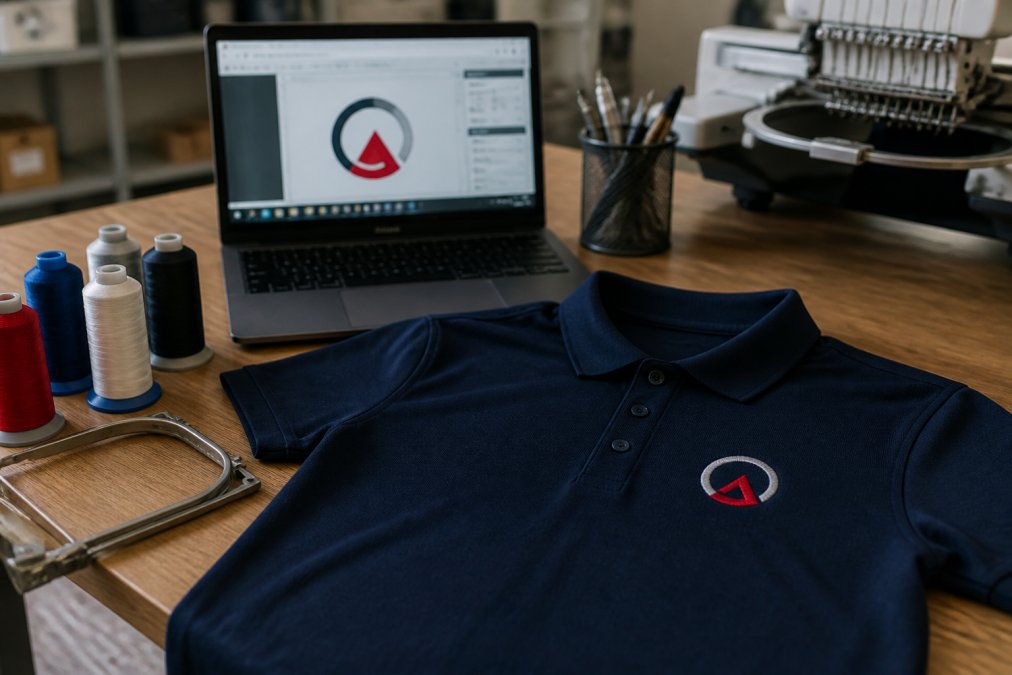
The output of digitizing is a machine-readable stitch file containing every stitch coordinate, stitch type, thread color sequence, and machine command needed to produce the design. Common output formats include DST, PES, JEF, and others depending on the target machine.
Auto-Digitizing vs Manual Digitizing
Auto-digitizing uses software algorithms to analyze artwork and generate a stitch file automatically. It is fast and inexpensive. For simple designs with large solid color areas and clean lines, it produces acceptable results. For anything with fine detail, text, or complexity, auto-digitizing frequently produces poor stitch sequencing, incorrect underlay, and noticeably inferior results.
Manual digitizing is performed by a trained digitizer who makes deliberate decisions about stitch type, direction, density, underlay, and sequencing for every design element. This is slower and costs more, but the quality difference on complex designs is significant. A manually digitized logo will have better edge definition, fewer thread trims, and longer durability.
Use auto-digitizing for simple, low-stakes designs where speed matters. Use manual digitizing for branded logos, detailed artwork, or anything representing your organization publicly.
Choosing the Right Output File Format (DST, PES, and More)
The output file format must match the embroidery machine being used. A file in the wrong format will either not load or produce incorrect output.
| Format | Common Machine Brand | Notes |
|---|---|---|
| DST | Tajima | Industry standard; widely accepted |
| PES | Brother | Common for commercial and home machines |
| JEF | Janome | Janome-specific machines |
| EXP | Melco | Melco/Ameco machines |
| XXX | Singer | Singer embroidery machines |
| EMB | Wilcom | Native format for Wilcom software |
Always confirm the required format with the production facility before submitting. DST is the most universally accepted format and is a safe default when format requirements are unclear. Note that DST does not store color information natively, so a separate color sequence sheet is typically submitted alongside the stitch file.
Common Embroidery Design Mistakes and How to Fix Them
Most common embroidery design mistakes fall into predictable categories.
Using print-optimized artwork without modification. A file built for offset printing or screen printing is not ready for embroidery. Print designs routinely include gradients, fine detail, small text, and color counts that embroidery cannot reproduce. Treat every print file as a starting point, not a finished submission.
Ignoring design scaling. A logo that looks balanced at 10 inches wide loses detail when scaled to 3 inches. Always review the design at actual intended embroidery dimensions. Elements that work at large scale often need removal or simplification at small scale.
Underestimating thread density. Too many stitches packed into a small area creates stiff, raised sections and can cause puckering or stabilizer failure. Thread density must match fabric weight and design area.
Submitting low-resolution raster files. A 72 DPI JPEG submitted for a 4-inch logo is not workable. The digitizer must guess at edge positions, introducing inaccuracy into every stitch boundary.
Not specifying the garment or fabric. Submitting artwork without specifying intended fabric type leaves the digitizer making assumptions that may be wrong. Always include fabric type, garment style, and placement dimensions.
Print-Ready vs Stitch-Ready: A Pre-Submission Checklist
Print-ready and stitch-ready are not the same standard. Use this checklist before submitting any artwork for embroidery.
| Requirement | Print-Ready | Stitch-Ready |
|---|---|---|
| File format | PDF, TIFF, EPS | Vector (AI, EPS, SVG) preferred |
| Resolution | 300 DPI at print size | 300+ DPI if raster; vector preferred |
| Color mode | CMYK | Solid colors only; no gradients |
| Gradients | Allowed | Must be removed |
| Drop shadows | Allowed | Must be removed |
| Minimum line weight | 0.25pt | ~1.5mm at final size |
| Text | Live or outlined | Must be outlined |
| Color count | Unlimited | 6 or fewer recommended |
| Fabric type noted | Not required | Required |
| Placement dimensions | Not required | Required |
Pre-submission checklist:
- File is vector format (AI, EPS, or SVG) or raster at 300+ DPI at final size
- All gradients and drop shadows removed
- Color count reduced to 6 or fewer solid colors
- All text converted to outlines
- Minimum stroke weight verified at approximately 1.5mm at final embroidery size
- Overlapping paths cleaned up
- Fabric type and garment style specified
- Final embroidery dimensions noted (width × height in inches)
- Placement location specified (left chest, center back, sleeve, etc.)
- Required stitch file format confirmed with production team
This checklist applies whether you are submitting to AGADA, LLC or any other production partner. Completing it before submission eliminates the most common revision requests and gets your order into production faster.
Getting artwork right before it reaches an embroidery machine is the part of the process most customers underestimate, and it's the part that determines whether the finished product looks professional or disappointing. The preparation steps outlined here, from file format selection through fabric-specific adjustments, are what separate a clean, durable embroidered piece from one that puckers, fades, or loses detail after a few washes. AGADA, LLC handles custom embroidery with attention to preparation, reviewing artwork before production and communicating clearly when adjustments are needed. Reach out to the AGADA, LLC team to discuss your design and get your order moving in the right direction.
Frequently Asked Questions
What type of image is best for embroidery?
Vector files, formats like AI, EPS, or SVG, are the best starting point when you prepare artwork for embroidery. They use mathematical paths rather than pixels, so they scale without losing detail and give a digitizer clean edges to trace into stitch paths. If you only have a raster file such as a PNG or JPG, it needs to be at least 300 dpi at the intended stitch size, and simple enough in detail that a digitizer can recreate it accurately as a stitch file.
What file formats are best for embroidery digitizing?
The two most common machine-ready embroidery file formats are DST (Tajima) and PES (Brother). DST is widely accepted by commercial embroidery machines and is often the default format professional shops request. PES works well for home and semi-commercial Brother machines. Your digitizer will produce one of these stitch files from your artwork. Always confirm which format your embroidery provider's machine requires before submitting a final file.
What are some common mistakes to avoid in embroidery?
The most frequent embroidery design mistakes include submitting low-resolution raster images, using gradients or drop shadows that threads cannot replicate, keeping text smaller than about 4mm in height, and skipping underlay stitches that stabilize fabric during hooping. Designs with too many color stops also slow production. Simplifying your artwork to solid colors, bold lines, and generous letter sizes before digitizing prevents most of these problems before they reach the embroidery machine.
What is the difference between a graphic design file and an embroidery file?
A graphic design file, whether vector or bitmap, describes color and shape visually. An embroidery file describes physical machine actions: stitch type, stitch direction, thread density, underlay, and trim commands that guide the needle. A DST or PES stitch file tells the embroidery machine exactly where each needle penetration happens. Converting a design file into a stitch file is called digitizing, and it requires either specialized embroidery software or a skilled digitizer who understands how fabric tension and thread count affect the finished result.
This article was written using GrandRanker